How to Replace Bits and Feeder Tubes on Robotic Screw Machines
How to Replace Bits and Feeder Tubes on Robotic Screw Machines
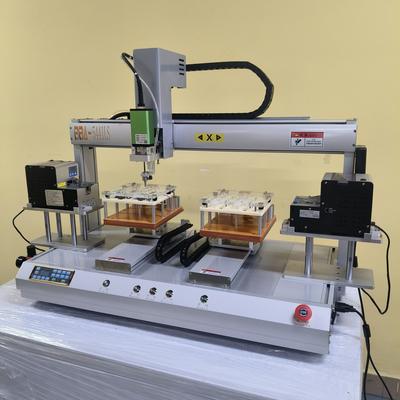
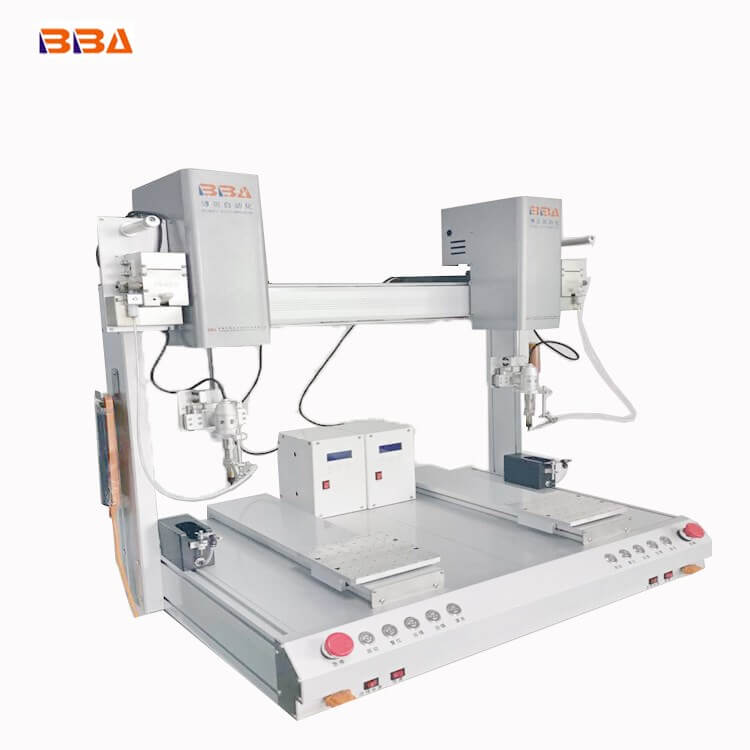
Robotic screw machines are essential for automating assembly processes, enhancing precision, and increasing production throughput. To maintain optimal performance, regular maintenance of key components such as driver bits and feeder tubes is critical. Worn or damaged bits and tubes can lead to misdriven screws, jams, and downtime. This guide provides step-by-step instructions for safely and efficiently replacing these parts.
Understanding the Components
The driver bit is the tool that engages with the screw head and is responsible for applying torque. Bits wear down over time due to friction and must be replaced to maintain grip and avoid damaging screw heads or compromising torque accuracy.
The feeder tube is the pathway that guides screws from the feeder bowl to the screwdriver head. Tubes can become worn or clogged, leading to misfeeds or jams. Regular inspection and replacement are necessary for consistent operation.
Tools and Safety Precautions
Before starting, ensure you have the correct replacement parts compatible with your machine model. Commonly needed tools include hex keys, screwdrivers, and sometimes a tube cutter. Always follow these safety steps:
Power off and lock out the robotic screw machine to prevent accidental activation.
Allow the system to depressurize if it uses pneumatic components.
Wear appropriate personal protective equipment (PPE), such as safety glasses and gloves.
Step-by-Step: Replacing the Driver Bit
Access the Screwdriver Head: Open the machine's housing or cover to access the screwdriver assembly. Refer to your machine manual for specific access points.
Remove the Old Bit: Depending on the design, the bit may be held in place by a set screw, a quick-release mechanism, or a magnetic holder. Use the appropriate tool (e.g., a hex key) to loosen the set screw or release the mechanism. Carefully extract the worn bit.
Install the New Bit: Insert the new, correct-sized bit into the holder. Ensure it is fully seated and secure. If a set screw is used, tighten it to the manufacturer's specified torque to prevent slipping or loosening during operation.
Test the Installation: Before fully reassembling, perform a manual test to ensure the bit is aligned correctly and spins freely without wobble.
Step-by-Step: Replacing the Feeder Tube
Disconnect the Tube: Trace the feeder tube from the screwdriver head back to the feeder bowl. Loosen any clamps or connectors holding the tube in place. Gently disconnect the tube from both ends.
Remove the Old Tube: Carefully pull the entire length of the old tube out of any guides or mounting points. Inspect it for internal wear, cracks, or kinks.
Prepare the New Tube: If the new tube is not pre-cut to length, measure and cut it to match the old tube using a proper tube cutter. Ensure the cut is clean and straight to prevent feed issues. Deburr the ends if necessary.
Install the New Tube: Route the new tube through the same path as the old one, ensuring there are no sharp bends or kinks. Connect it securely to the feeder bowl outlet and the screwdriver head inlet. Tighten all clamps and connectors.
Test the Feed System: Power on the machine and run a test cycle without screws to ensure the tube is correctly routed. Then, load screws and monitor the feeding process for smooth, consistent operation without jams.
Pro Tip: Keep a log of maintenance activities, including the date of bit and tube replacements. This helps predict future wear patterns and plan maintenance schedules, reducing unexpected downtime.
Conclusion
Regularly replacing bits and feeder tubes is a straightforward yet vital task for ensuring the reliability and efficiency of your robotic screw machines. By following these procedures and adhering to safety protocols, you can maintain high-quality assembly output and extend the lifespan of your automation equipment. Always consult your specific machine's manual for model-related details and recommended replacement intervals.
Best SEO Titles for Screw Fastening Machines In the competitive landscape of industrial automation, having a strong online presence is crucial for reaching potential customers and driving business growth. For companies specializing in screw fastening machines, optimizing content with effective SEO t
Product Name Applicable industries Auto Screwdriver Machine LED Lighting Industry Battery and Power Module Assembly with Automation The rapid evolution of industrial automation has revolutionized manufacturing processes across numerous sectors. One area experiencing significant transformation is the
Product Name Applicable industries Screw Fastening Unit Consumer Electronics Assembly Industry 4.0 and Smart Tightening Solutions Industry 4.0 and Smart Tightening Solutions The fourth industrial revolution, commonly referred to as Industry 4.0, is transforming manufacturing landscapes worldwide. At
Product Name Applicable industries Desktop Screwdriver Robot Telecommunication Equipment Assembly In the competitive landscape of modern manufacturing, the pursuit of efficiency and precision is relentless. For many companies, the decision to upgrade production lines with advanced servo assembly mac
Product Name Applicable industries Smart Screw Driving Machine Electric Bicycle Assembly Compact Servo Screw Drivers for Limited-Space Applications In the world of industrial automation, efficiency and precision are paramount. However, one of the most common challenges faced by engineers and product
About Us
BBA automation headquartered
in Guangdong, China. It mainly sells automatic screwing machines, screw
conveying presenter, soldering machines and other non-standard
automation equipments.